[ Up To Index ]
Version 5 iView Web User Interface Usage
Setup of the iView 5 interface is discussed here
Using The Search Interface
To access the search interface the user must have been granted at least *SEARCH access to the archive from menu IVIEWADM, option 6.
Point your browser at your i5 server:
http:<i5 server IP><: i5 port>/iview5/
<i5 Server IP>: the IP address of your i5 server
<i5 port>: whatever port the Zend http server is running on. By default this is port 89. The web default for http (which is was is used when you don't specify a port) is 80.
A url of http://192.168.0.82:89/iview5/ is typical.
This presumes that you installed iView 5 in a directory /iview5.
Log in at the prompt using your greenscreen user profile and password, if Apache security is configured as described. Otherwise, consult your system administrator for authentication procedures.
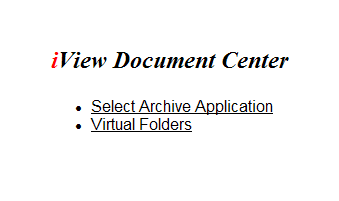
==== Select Archive Application ====
To start, select the view method.
When viewing using the regular method, this prompt appears to permit the selection of the archive in which to search. Only archives to which the user has been granted access appear.
Specify search terms, sorting and grouping of search results. Use the asterisk for the wildcard.
Search results are shown thus.
Click on the email link to email using iMail with the document as an attachment. Select addresses from the iMail address book or key them directly. Enclose keyed addresses in single quotes and separate multiple addresses using a space.
Example: 'davis@informdecisions.com' 'davis@informdecisions.com' 'davis@informdecisions.com' 'davis@informdecisions.com'
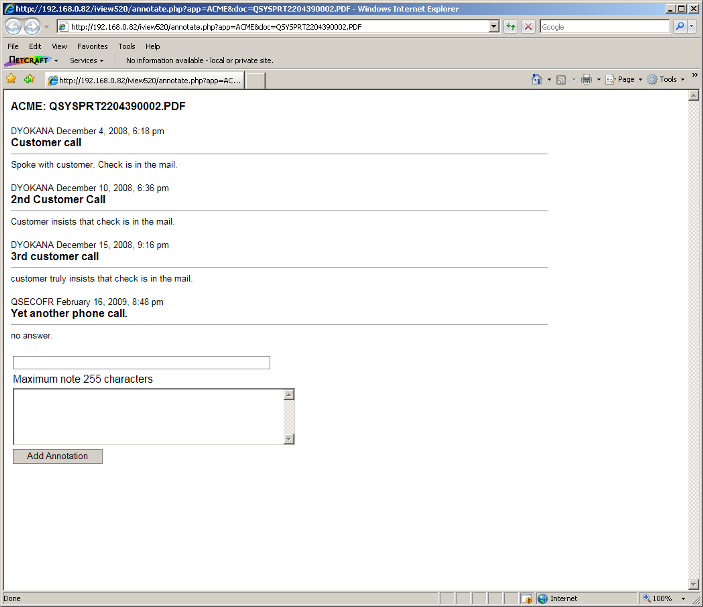
You can annotate the documents by clicking on the annotate link. The annotations are stored in a db2/400 table; the archived documents are not altered.
Selecting the related documents link produces a cross archive search.
Virtual Folders view to the VF administrator.
* Use the a link to add a directory.
* Use the d link to remove a directory
* Use the dialog in the right pane to add a rule.
Rules: rules cause the document to be “pulled” from the directories above into the current directory, but not into subdirectories.
* *EQ: The document will be included in the directory if the field is equal to the specified constant value.
* *NE: The document will be included in the directory if the field is not equal to the specified constant value.
* *GT: The document will be included in the directory if the field is greater than the specified constant value.
* *LT: The document will be included in the directory if the field is less than the specified constant value.
* *STRSTR: The document will be included in the directory if the specified value is found within the specified field.
* *STRISTR: As *STRSTR, but case insensitive.
* *STRNCMP: The document will be included in the specified constant value matches the specified field contents, to the maximum length of the specified constant value.
* *EXPRESSION: The document will be included if the free form Php expression returns TRUE, excluded if it returns FALSE. Use $fieldValue to reference the contents of the specified field. See [ this ] for a discussion of *EXPRESSION.
Setup archives by taking this link from the home page. Specify which fields appear as the file name (the document link), and as the subtitles, in the search results.
Also setup related documents. Related documents is a cross archive search. Setup is done by specify which fields in an archive are equal to which fields in other archives. Setup related documents with the archive itself to see the original archive in the related documents search result. Incorrect field matching can cause unexpected results and lengthy response times.
This page allows the admin to import scanned images into an iView archive. Using the dialog box at the top (which must be innitially set to an IFS directory by keying the directory and clicking 'set'), navigate to the IFS directory containing the scanned images. This directory can be networked. Then drag the image(s) to the correct archives and click the 'Import' button. Each image will be iteratively prompted for the index values and then imported into the archive.
Note that when the images are dragged into the right pane they disappear from the left pane. In fact no file deletion occurs and the scanned images remain in the directory. To reset the entire process (but not any imports that have already occurred), just refresh the browser page.

 ===== Virtual Folders =====
This is the Virtual Folders view of an archive for a regular user. This view is designed to resemble a PC file explorer.
 —-
[ Up To Index ]


